We use cookies and similar technologies to provide the best experience on our website. Privacy Policy
Roll over image to zoom inClick on image to zoom
/
Description
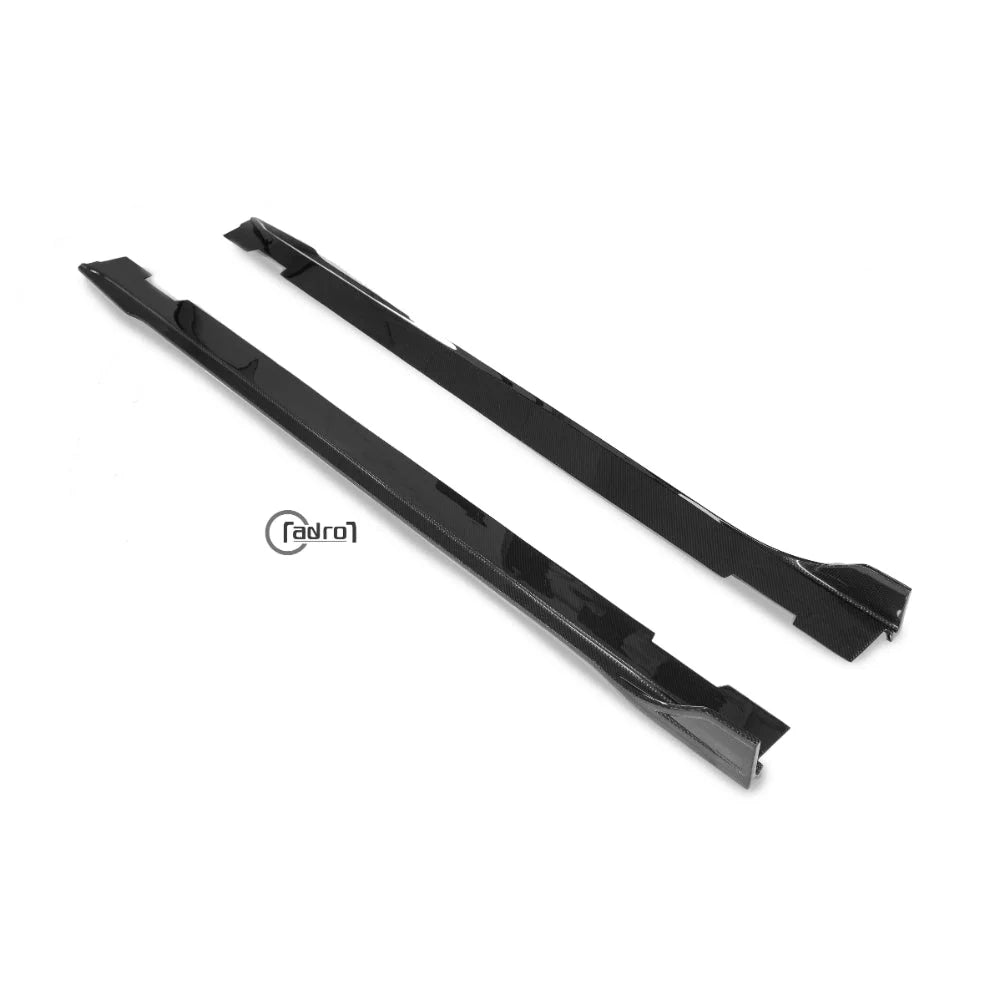
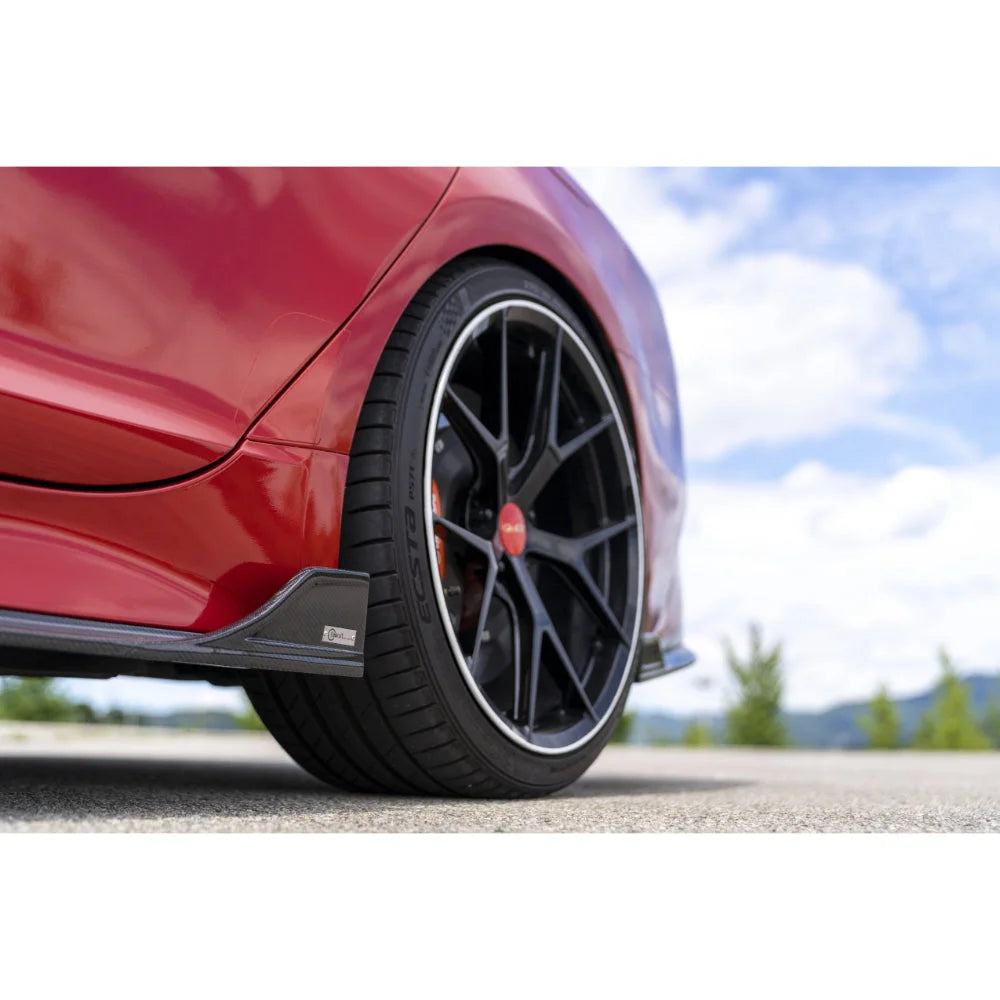
The V2 carbon fiber side skirt kit is still made from the same high-quality handcrafted carbon fiber that you're used to seeing from ADRO, but drops down just a little bit lower than the V1 variant. It also features a built-in air winglet, making a pair perfectly with the ADRO V2 carbon fiber rear diffuser. The side skirt is designed to fit all Kia Stinger models from 2018 to 2022, no matter what trim level you have. It's super easy to install and will fit properly the first time. This will make a massive difference in the appearance of the side profile of your Kia Stinger and it looks right at home on everything from a 2.0 base model all the way up to the GT2.
Side Skirt V2 Specifications
Kia Stinger
Additional self-tapping screws and/or rivets are recommended
SKU:
A12A30-1402
Compatible with:
2018-'23 Kia Stinger GT2
2018-'23 Kia Stinger GT1
2018-'21 Kia Stinger GT
2020-'23 Kia Stinger GT-Line
2018-'19 Kia Stinger Premium
2018-'19 Kia Stinger 2.0 Base
This kit includes:
Pair of carbon fiber side skirts
Material:
Wet carbon fiber
Dimensions:
TBA
What’s in the box:
2 Carbon fiber side skirts 3M tape Installation manual
Version:
V2
Why Buy From Us?
Worldwide shipping
1000's of items in stock
Multiple payment options
14 day returns period
Payment & Security
Your payment information is processed securely. We do not store credit card details nor have access to your credit card information.
Price Match Request
Related items
Recently viewed
Loyalty Points
Earn
loyalty points worth !
Free Shipping
Free UK shipping on orders over £150!
Price Match
Seen the same part cheaper? We'll match any like for like price from a UK company!
Free shipping
On all orders over £150
Satisfied or refunded
We know you'll love our products
Top-notch support
We're here to answer your questions
Secure payments
100% SSL secure payments
Opens in a new window.
PayPal Pay Later Messaging
Step 1: Choose message placement
Click the button below or use arrows to adjust
OR
Use arrows to adjust message placement:
Step 2: Copy your selection
Click copy when the placement looks good
Step 3: Paste and save
Paste the copied value into the corresponding field in the left hand panel, then click Save